Pages

Monday, February 27, 2012

Tantillus progress update and videos

It turns out my year of communication errors have been caused by a faulty Arduino mega 1280 (official Arduino) all along, but it was still capable of running Teacup despite its issues. Thanks to the kindness of fellow RepRapper John Biehler who loaned me an Arduino mega 2560 I am back at development and tuning.

After connecting Johns Arduino I proceeded to try printing the large Yoda I had fail time and time again using my 1280 and Marlin. To my surprise it made it far past the point at which it had been failing when I realized I did not have enough filament to finish. Expecting to have a communication error and not wanting to waste new filament I started inserting short lengths of various PLA I had lying around into the extruder one after another. The result was a large rainbow yoda.
I then proceeded to load more filament into the machine and started the print over.
The results were far better than I was expecting for such an early print and very little calibration. I am attributing this to the quality of code being produced by Slic3r and the look-a-head in marlin.


It was now time to see how fast I could go without losing quality. I used Le_garages Grotux and printed it with four perimeters and various speeds until I found the sweet spot of between 80 and 125mm/s for print moves.
 I quickly found the need for a fan so I designed a simple fan mount to hold a 40mm fan to the side of the machine. Here it is printing at 80mm/s perimeter with 200mm/s travel speed. It has a bit of ooze still at this point in the tuning.
As you can see from the following picture it is almost impossible to print small parts at these speeds without a fan or cooling (first one). The second one is with the fan added. The third and fourth are the combined results of the fan and Slic3rs brand new cool feature.
 I also decided to try and tune the advance feature in Marlin with very poor results. The picture shows the average result whenever the advance K is set enough to deal with the hysteresis. (edit: these were done at 200mm/s)
Instead of wasting plastic printing more cubes or toys to tune the retract and acceleration I decided to use Prusa parts.
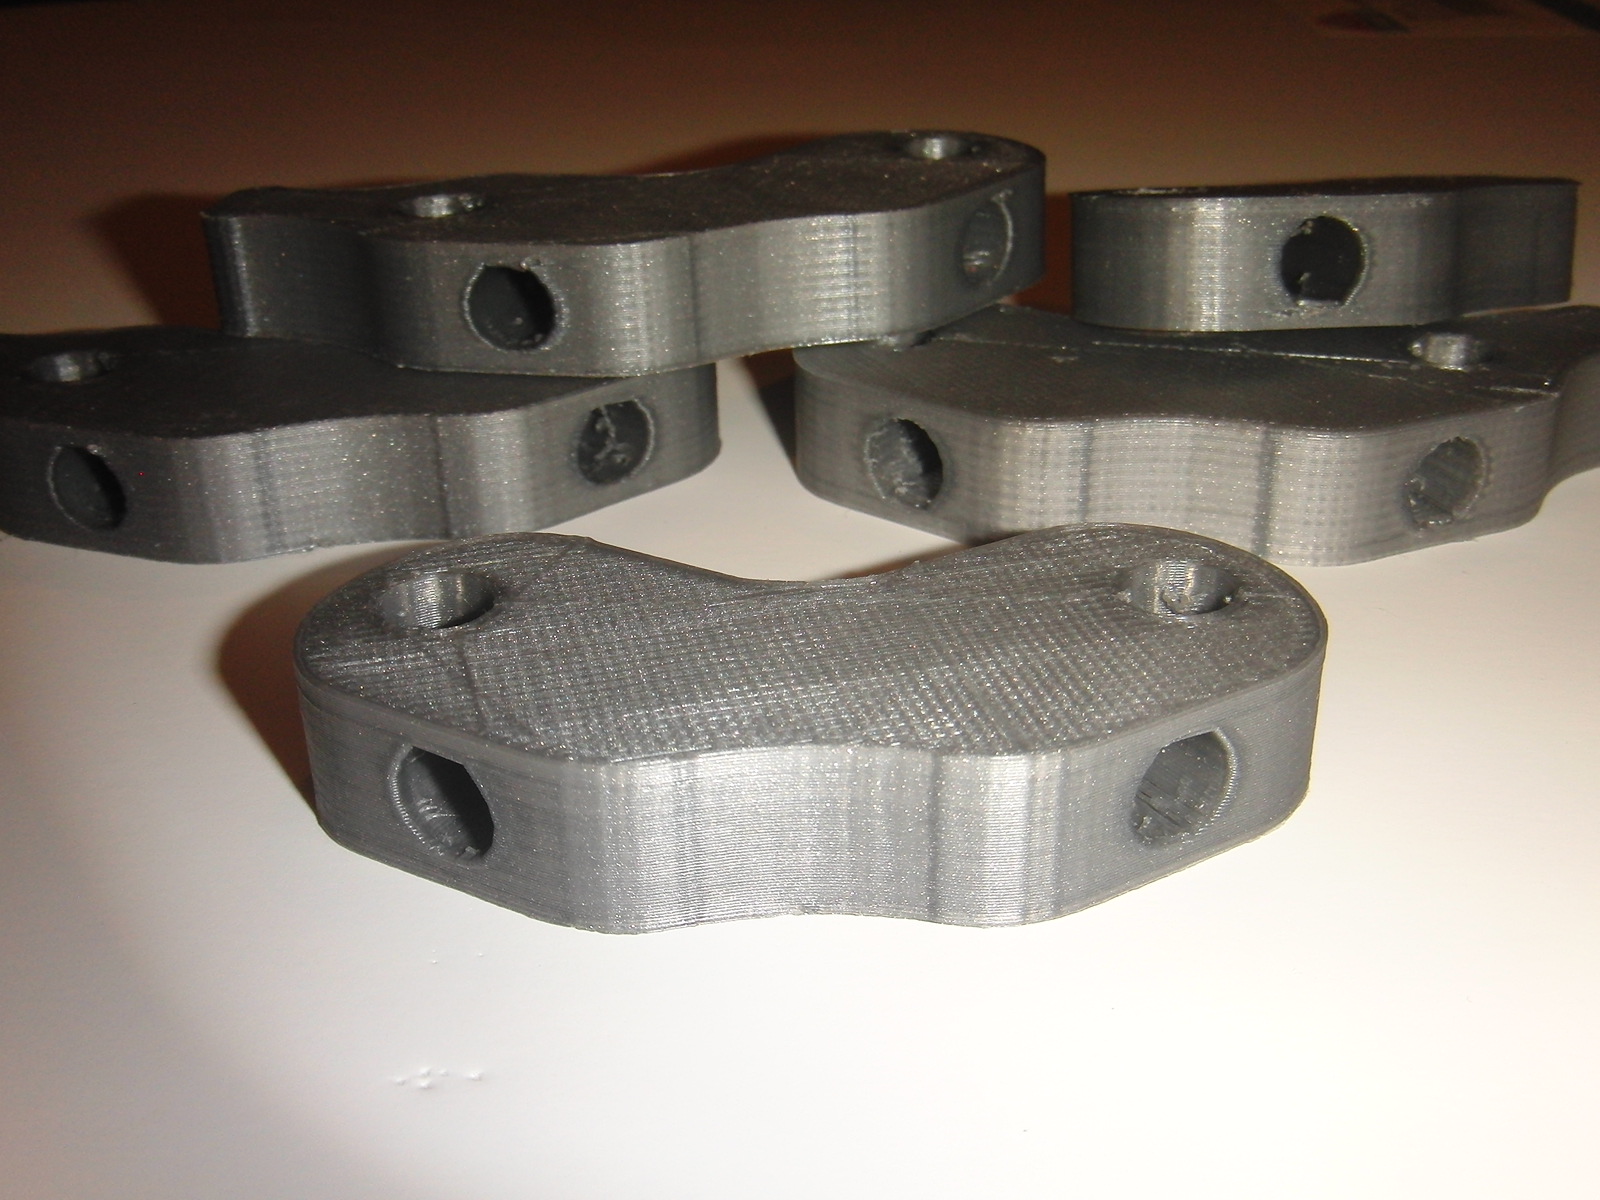
So far the results are far exceeding my expectations and I will be moving on to the Beta testing stage now with John Biehler being the first to print the Beta 0.1 in ABS on his Thing-o-matic. 


BONUS VIDEO:

Monday, February 20, 2012

First prints

After redesigning the carriage and building a new hotend I was off and printing. As usual I started with Teacup and every print finished but the machine was noisy at the speeds I want to print at. The results were not exactly what I wanted either, but none the less still good.
The first three cubes are printed with the old hotend and Teacup. The next two and Yoda were printed with the new hotend and Teacup. I then decide to make the switch to Marlin which resulted in excellent quality prints and the machine sounded much better. But as you can see I could not complete a single build because of the communication errors. I posted a thread on the RepRap forum about it but no one has responded yet. While waiting to find a solution to the serial error I decided to try hooking up my DIY sd card reader (card slot and schematic) which went terribly wrong. The first symptom appeared when the temp would read 266 so I swapped the hotend and bed thermistors in the firmware and was getting good readings again. But the Y axis and Z axis only moved at about 10% of the speed requested and only move half the distance. I have removed the SDreader and checked all the connection points and there are no shorts or loose connections so it looks like my arduino mega is done. This is going to set the project back until I can sell another set of Prusa parts to raise the money to continue.

Here's a video of the fourth print it ever did. First with the new hotend.

Hopefully it won't be to long before I can continue development.

Friday, February 17, 2012

First signs of life

It's late so I will make this short. The motors arrived today and I spent the evening wiring Tantillus up with the R.A.M.P.S. 1.2 from my RepStrap Huxley. The gears on the X and Y are a little noisy because of the textured surface of the prints but I believe they will quite down as soon as they wear in a little more. The video is of test routine I wrote to break in the gears a little and is running at 150mm/s. I ran it for about 10 minutes before I got bored and tired. The only issue I found while trying to print was the fact I printed the carriage in PLA and have no cooling on the hotend. I will be redesigning it and print it out of ABS. Stay tuned for more details.

Monday, February 13, 2012

In the meantime.

I am just waiting for the motors to arrive and thought I would give you a short video showing the movement of the axis (by hand). I should have the motors by the end of this week / beginning of next and will upload a proper video (in focus and lit). And hopefully the first videos of it printing.

Wednesday, February 8, 2012

Sneak peek of my new portable mini printer, Tantillus.

 Just a quick update as some of you may have already seen via John Biehlers Blog I have been working on a mini Ultimaker style printer with the goal of making a truly portable printer. This came about after taking my Prusa on holidays and finding it too big to travel with and not required for most things you would print on the go.


A few notes on its design and construction.

Outer dimensions:
 200mm x 200mm x 300mm (225mm x 225mm x 300mm with reinforcements brackets installed, see picture)

Build Area:
102mm x 102mm x 120mm (100mm x 100mm x 110 usable)

Features:
LM8uu linear bearings on all axis (currently using Triffid Hunters printable LM8uu's for testing with excellent results).
Fully printed case (12 main sections, 12 connectors, 14 axis parts, 5 optional reinforcements, 3 piece custom extruder).
It can print all of its own parts.
Designed to use J-head hotend (eventually).
Internally mounted extruder with bowden cable.
External power supply to allow for battery operated use.
Uses low cost wire rope (fishing wire) or High test Braided fishing line instead of costly belts (It wraps 5 times around the rod and then goes through a hole and wraps an additional 5 times resulting in no slip). This is a roll on roll off system with a fixed anchor in the middle.

Planned additions:
Extension panels to allow it to expand itself by 100mm in any or all directions (incomplete as of yet).
The ability to daisy chain two machines together to mass produce parts while only using one set of electronics (both machines would produce the same parts at the same time).

Vitamin list:
11- 608 bearings
10 - LM8uu's or 8 - LM8uu's & 4 - LM8Suu's
2m - 8mm smooth rod
250mm - 6mm threaded rod (1/4" threaded rod) and two nuts
60 - Socket head screws (Allen head)
4 - Nema 17's ( Nema 11's / Nema 14's should also work as it takes very little torque)
Your favorite electronics.

Thanks go to John for his beautiful picture.

Update:
It now has a name "Tantillus"

Update 2:
RepRap wiki page created. http://reprap.org/wiki/Tantillus