After connecting Johns Arduino I proceeded to try printing the large Yoda I had fail time and time again using my 1280 and Marlin. To my surprise it made it far past the point at which it had been failing when I realized I did not have enough filament to finish. Expecting to have a communication error and not wanting to waste new filament I started inserting short lengths of various PLA I had lying around into the extruder one after another. The result was a large rainbow yoda.

The results were far better than I was expecting for such an early print and very little calibration. I am attributing this to the quality of code being produced by Slic3r and the look-a-head in marlin.


It was now time to see how fast I could go without losing quality. I used Le_garages Grotux and printed it with four perimeters and various speeds until I found the sweet spot of between 80 and 125mm/s for print moves.

I quickly found the need for a fan so I designed a simple fan mount to hold a 40mm fan to the side of the machine. Here it is printing at 80mm/s perimeter with 200mm/s travel speed. It has a bit of ooze still at this point in the tuning.
As you can see from the following picture it is almost impossible to print small parts at these speeds without a fan or cooling (first one). The second one is with the fan added. The third and fourth are the combined results of the fan and Slic3rs brand new cool feature.

I also decided to try and tune the advance feature in Marlin with very poor results. The picture shows the average result whenever the advance K is set enough to deal with the hysteresis. (edit: these were done at 200mm/s)

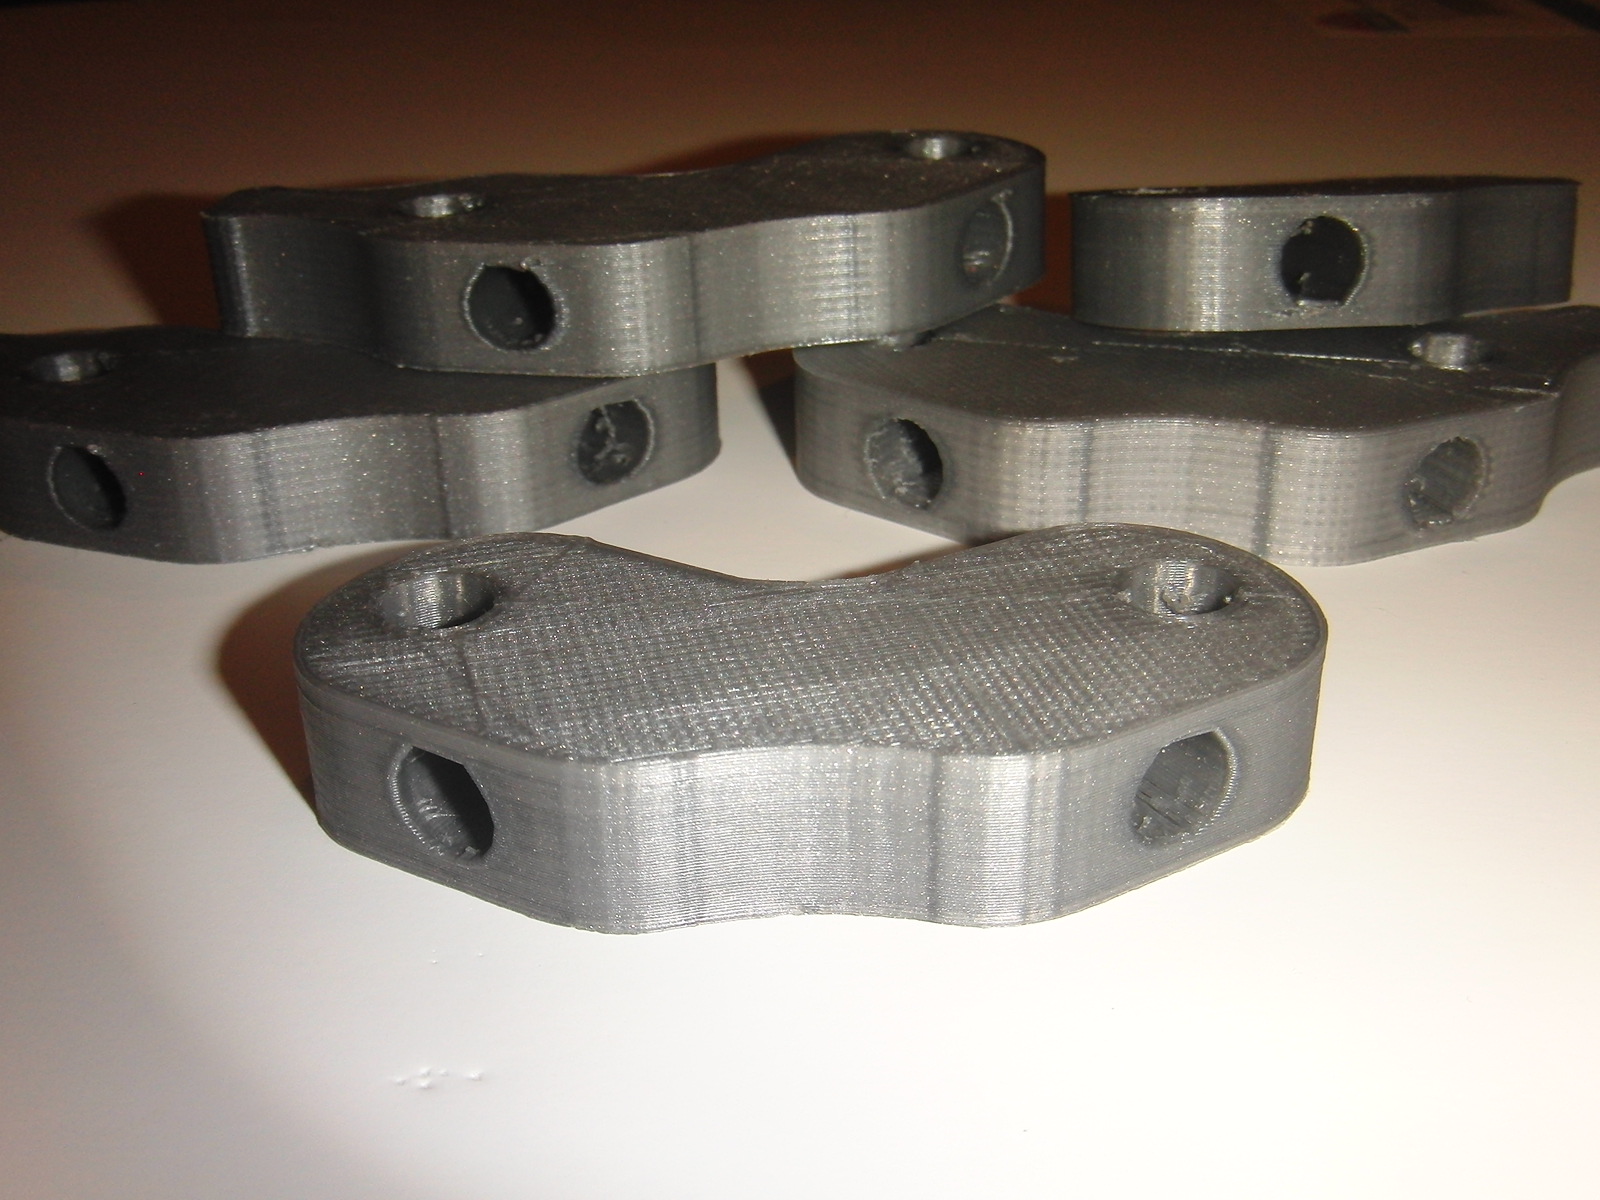
Instead of wasting plastic printing more cubes or toys to tune the retract and acceleration I decided to use Prusa parts.
So far the results are far exceeding my expectations and I will be moving on to the Beta testing stage now with John Biehler being the first to print the Beta 0.1 in ABS on his Thing-o-matic.
BONUS VIDEO:
hi,
ReplyDeletehow many grams of PLA are needed for one tantillus? That would be intresting.
Now this is only a guess and I will know an actual number when I print the next one (waiting for PLA) but some where between 500-1000 grams. I could be wrong because I had the same roll of Red and Blue PLA for months and months and was assembling the machine while printing so I have never had a chance to weigh just the plastic parts.
DeleteWith 4 nema 17's, the Ramps board, all the metal rods, bearings, fans, spool holder, 6mm acrylic bottom, two 6mm acrylic bed plates and all the other parts it weighs in under 3000g (just over 6lbs)
I can't wait to build one of these. What are you using as a print bed? Also, is there a mount underneath for a power supply and a mount above for the electronics, so it could literally be carried places? Do you have any plan on when you will be releasing files/build instructions?
ReplyDeleteIts 6mm acrylic which is over kill but what I had lying around. On top is a thin piece of glass with blue painters tape on it (its easier to remove the tape from the glass than the acrylic).
DeleteThe electronics are all inside with the extruder. It has enough room for a battery pack or a small 5-10amp power supply inside but I am using an external power supply (laptop style) so you can unplug it and plug it into your cars lighter socket and print on the go.
The files and instructions will be released when development is complete.
Also, what size filament does it currently take?
DeleteI only ever use 3mm. 1.75mm costs more and gives no advantages over 3mm that can not be achieved with better gearing on the extruder. 1.75mm also sounds to have a higher allowable error tolerance which is not as good for precision. Plus it's not as stiff which can cause greater hysteresis in the Bowden cable.
DeleteI just thought about it, and if I may make a suggestion I think it would be advisable to add a cutout where the electronics are mounted so that SDRAMPS or SDSL can be used more easily. I think this would add greatly to the portability and independence of the device.
DeleteI have 1602 LCD panels on order for the next one and I will be adding SD and Buttons as well. They will accessible from the front of the machine. It will require a small cable to connect the control panel to the electronics as opposed to having the card plugged into the board like SDramps. This will allow the use of Sanguinololu, Melzi, Gen7, Gen6 etc. The result is it will not have cutouts to fit any particular boards connectors.
DeleteCan you comment more on the failure mode of your controller? I had a working Teacup system that failed to work under Sprinter. I eventually discovered that the pulses being generated were extremely narrow, and not always picked up by my stepper drivers.
ReplyDeleteSure, my issue all revolved around the RTS and DTR wires I believe. They are used to tell the software to send more data. They seemed to just drop the signal and the host software would never get the command to send more data. With Teacups Xon/Xoff protocol the Arduino would just request more data via the serial connection not the hardware flow control. I am fairly confident this was the issue because even Xon/Xoff would fail if the DTR and RTS lines were enabled in my terminal program.
DeleteYour issue sounds more like the step pins were inverted (going low to step not high).
Need anymore beta testers? I'd like to volunteer myself!
ReplyDeleteLooks like something I'd want to buy - a completed machine, not a kit. Time to start a "kickstarter" to get funding? I think this looks a lot more appealing than printrbot, and unlike makibox you actually have something working. So it should be easy to get in the cash to get a manufacturing project started.
ReplyDeleteLooks like an awesome cute printer. What is ETA on the designs? I am waiting for it and checking the site and checking reprap.org/wiki/Tantillus on bi-daily basis.
ReplyDeleteBest of luck
I have developed a Laser cut case and will be doing an Indiegogo Campaign very very soon (last week was the plan). I will have all the details in my next blog post which will be posted as soon as I am ready to start the campaign. If you would really like a printed version I have uploaded the case files to Tantillus' Github page and will be releasing the rest of the parts the day the Indiegogo campaign ends (both types use the exact same axis parts).
DeleteThis comment has been removed by the author.
ReplyDelete